全国咨询热线:
0773-5588148
首页
关于我们
米乐m6官方网站
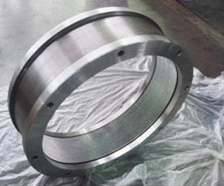
环模
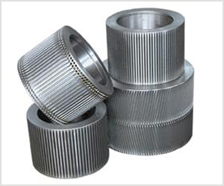
压辊
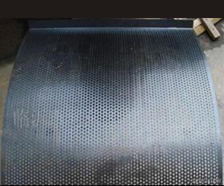
筛片
锤片
机器设备
其他配件
案例展示
新闻资讯
联系我们
米乐m6官方网站
products
其他配件
机器设备
锤片
筛片
环模
压辊
筛片
新闻中心
news
关于2016年度广西科学技术奖拟
2022-04-28
根据广西科技厅《关于组织推荐2016年度广西科学技术奖的通知》(桂科成字〔2016〕4号)及相关文件的要求,现将以我
2014年(第二届)中国工程机械
2022-04-28
由中国工程机械租赁网主办,中国工程机械工业协会工程机械租赁分会指导的“第二届中国工程机械租赁业颁奖盛典”在成都圆满落
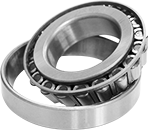
专业销售世界原装轴承
产品源于品质 质量成就未来
咨询电话:0773-5588148
联系我们
销售世界原装轴承
调心滚子轴承
调心滚子轴承
具有双列滚子。
杜绝假冒伪劣产品
销售高质产品
提供优良服务
保证及时供货
尽力满足客户需求
努力达成客户目标
提供优良服务
保证及时供货
乐鱼官网(中国)乐鱼有限公司官网
|
开云足球(中国)有限公司官网
|
博鱼官方网站
|
开云下注官网(中国)股份有限公司
|
最佳电竞下注平台(中国)有限公司官网
|
开云网页版登录(中国)官方网站
|
华体会app官方下载
|
开云手机在线登录入口(中国)开云有限公司
|
BET手机官网·中国有限公司
|